Hello Friends! I hope you had a great weekend! I always love my weekends. Friday, I spent most of my morning running errands and finishing up the fireplace. The rest of my weekend was sprucing up the yard getting things put away for the winter months.
Today I wanted to share with you how I made a book wreath. I had made one a couple years ago, but I don’t have any of that information to share with you. The only thing I can do is make another one.
While doing errands Friday morning I went to one of our local thrift stores. I was on the hunt for a certain book that I wanted for the wreath.

I hit the jackpot! Not only did I find the perfect book, but most of the pages were loose so I didn’t have to do much prep work for the wreath…..AND it was only $1.00!
I wanted my wreath to have music print. It isn’t going to be in a music room or a room with any type of musical instruments. I just like the looks of sheet music.
Here is the material you would need, if you want to make a beautiful wreath.
- old book of your choice (you will need at least 120 pages)
- foam core board (I purchased a foam board at The Dollar Tree)
- hot glue gun and A LOT of hot glue sticks
- stapler
- scotch tape
- circular compass or something you can use as a round template
- ruler
- scissors or something to cut the foam board
- pencil
- ornaments or something for the center of your wreath (optional)


My pages were larger so I had to use a lot more ornaments because my center was deeper.
Let’s get started.
Step One
Remove your pages as close to the spine as possible. Remember you will need at least 120 pages.
The notebook I used was falling apart at the spine.


Step Two
Trim and clean your pages. Trim off any left over spine or glue.
TIP: If your book has yellow edges you might want to leave them like that. I think the age look would be beautiful.

Step Three
Creating the cones.
This was the easiest way for me to do the cone rolling process ….you might have a better way.
You will need the scotch tape for this step. Lay the page down in front of you. (in a landscape layout position).

On the right side of the page place your finger and thumb at the corners. Take your left hand and roll the top left corner and start curling inward to form a cone.

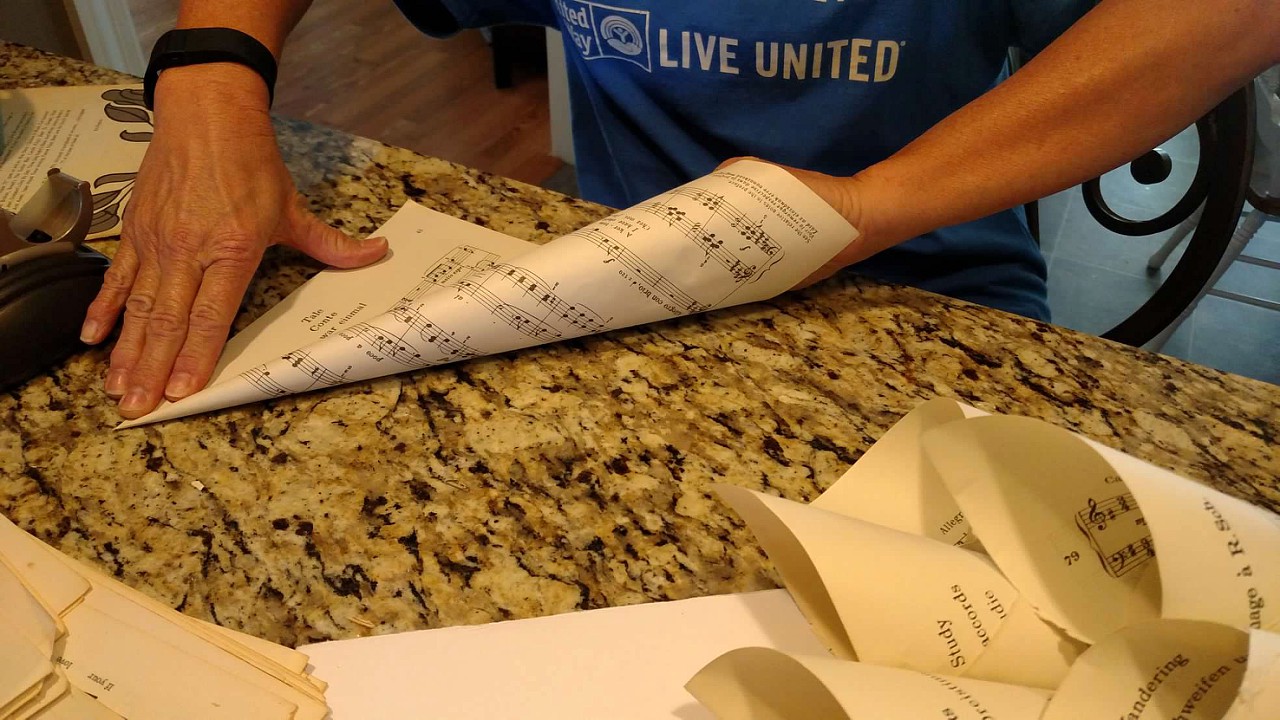
Now take the bottom right side corner and bring it around to the cone and tape.


TIP: Make sure before you tape the end to the cone the point of your cone is in the center.

Now make 119 more of those!

120 cones.
Step Four
Staple the cones.
Take your cone making sure the point is up bending it enough to be able to place the end into the stapler. Staple about 1″ up from the end.


My staple is more than 1″ due to the size of the page.
You can snip the ends off if you want about 1/2″ left from the staple. I wished I would of. I will show you why in Step Six.
Do this to all 120 cones.

Step Five
Creating the Back Board.
Now take your foam board and cut it to the size of: 16″ x 16″. I cut the corners off of mine. I didn’t want the corners to stick out. It should look like a white STOP sign. ha!

Measure for the center and place a dot with a sharpie or pencil.
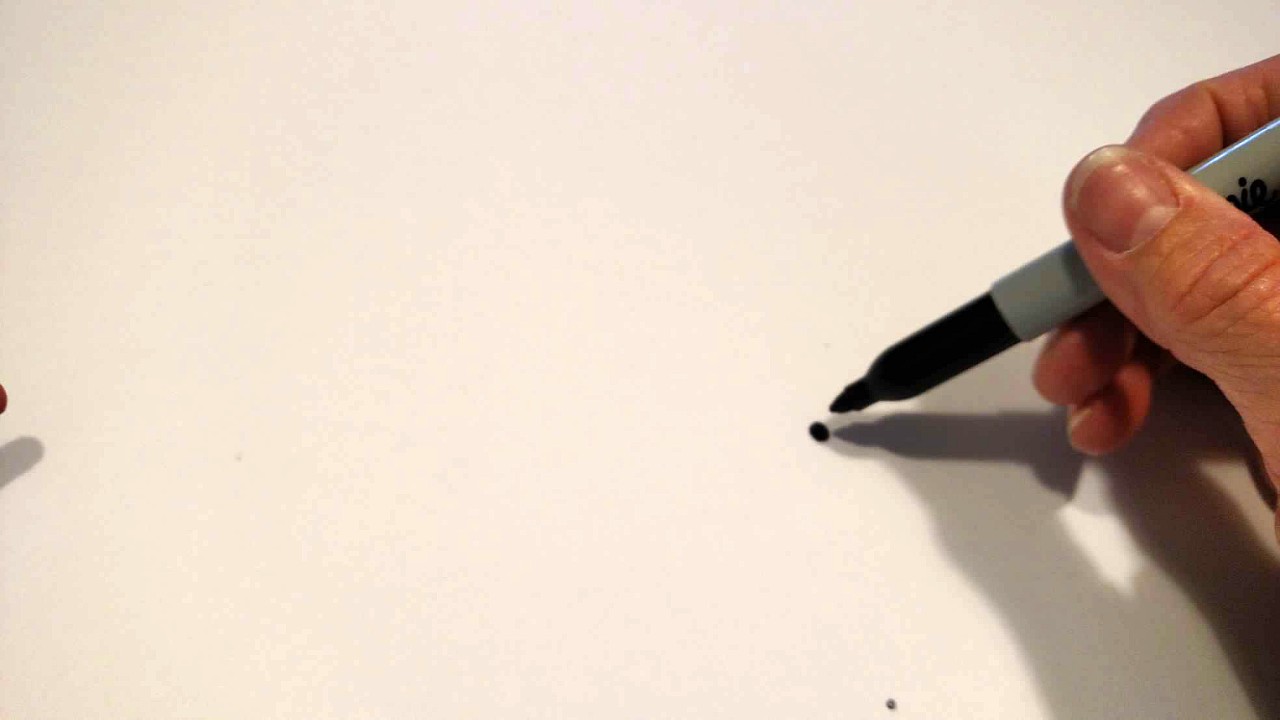
Now take your circular compass or use a dinner plate or whatever you might have that is about 9″ diameter. Using the dot as your center mark.


Now make a 4″ diameter circle.

After you make both circles place 4 dots on the circle at 12 0’clock – 3 o’clock – 6 o’clock and 9 o’clock.
Draw a line to connect the dots to make a cross.

Step Six
Glue the cones down.
Apply glue to the board on the outer line. Place the cone to the board matching the staple to the line. This is where I wished I would of cut the tips of the cones. My tips cover the inner guide line. First, glue 4 starting cones to the cross dots.


Now fill in the rest with cones. Lap over each cone a bit so you don’t see the back board.

Second row same as the first ( isn’t that like a verse in a song? hint my music pages ha!) Using the inner circle as a guide. I couldn’t see mine so I just guessitmated.


Keep layering until it is all filled in with just a little center opening.

This is what it looks like without anything in the center.

Step Seven
Placing the Ribbon.
Turn your arrangement gently over.

Take either a pair of scissors or a crafting knife and make two slits.


Thread your ribbon in and out. (Depending how long you want your pendant to hang is how long you want your ribbon).

Step Eight
Add the BLING!
This is where your style comes into play. You can do whatever you like. Adding just ornaments (as I did) or finding the perfect jewel or putting a large flower in the center. Whatever you want it will be just beautiful.
Take your hot glue and add to the center.

I used two larger ornaments at the bottom. Then I placed smaller ornaments by gluing each piece as I went.

That’s it. I will show you how I styled it when we tour the room. But in the meantime here it is hanging on a wall.


Total cost to do this project was $2.09. The music notebook cost $1.00 and the foam board cost $1.09. Everything else I had on hand.
Don’t you think this paper wreath looks worth more than it cost to make it? It will work perfectly with the Christmas decorations for the room I am going to place it in.
Thank you for stopping by! Hope you enjoyed this DIY book wreath. Coming up Wednesday will be how I decorate a Christmas Tree. I am sure you all know how to decorate a tree. I wanted to share with you on how I take the tree out of the box, fluff, shape and decorate it. Come back here on Wednesday!
Don’t forget to follow me on Instagram and Facebook. And jump over on Pinterest and see what all I pin. I would love to follow you on your journey so come find me, follow me and I will be sure to follow you back!
Don’t forget to sign up to NEVER MISS A POST so you won’t miss one thing this holiday season from me!
Stay strong and stay blessed!
Terrie
Decorating our home on a budget is my thrill. I think a home can look beautiful without breaking the bank. Your home should bring the best out of you and make you feel happy. You should smile every time you enter your home. 🙂
Thank you for the tutorial on making this wreath. I really liked the first one you did. It looked so pretty on your wall. If I remember right it was above your fireplace…but memory is a tricky thing… 😉
I love this one too…the sheet music was a wise choice. The accent color is pretty & I am looking forward to see how you finished it off. It’s amazing what you can do with a couple of dollars…!! Another great project… 🙂
Thanks Lucy,
You are so welcome on the tutorial. I had the other one on the guest bedroom wall. I could of placed it above my fireplace but didn’t. This one is larger than the other one I made due to the size of the sheet pages. I really love this one. It won’t fit in any of my tubs….so I got to think about how to store it. I have a whole nother month to worry about that. ha!
Thanks again for your kind words!
Love it!
Thank you! I love how it turned out also.