Hello Friends! How are you this Friday morning? Can you believe that this is the second Friday in November? I know I said this before but WoW! This year is almost over how can this be?
Today’s project is one that I have been wanting to do for a very long time. Painting my fireplace brick. I thought it would look so much better painted, but then again I was afraid that it wouldn’t and then what would I do? I have been bouncing this project back and forth to finally I just said “I am going to do it”! I took that huge step and so glad I did. Today I’m excited to show you my process on how I painted my fireplace brick.

Supplies that I used:
- vinegar and water in a spray bottle
- rubber gloves
- scrub brush
- painters tape
- paint drop cloth
- primer
- older paint brush
- sponge roller
- paint
The very first step I did was clean the brick. I used a spray bottle with 1/2 vinegar and 1/2 water. Spray the brick down and scrubbed it with a cleaning brush. After I used the brush I wiped it down with fresh water. I wanted to vacuum the brick just to make sure all the grit was off.


Next….I put one layer of tape around the base of the hearth then taped down the tarp. I just wanted to make double sure that paint would not get on my flooring.
I took some plastic and newspaper and taped over the fireplace insert.


Next……PRIME! You know me….Always like to prime with Zinsser 123 Primer from Lowe’s. I first painted the crevices. After they were good and covered I painted the rest of the brick.
Tip: Do not use a good brush. The brick is really harsh on the brush.


I let that dry over night.
The next day I painted the first coat of paint to the brick. Another MUST for me when painting is Benjamin Moore paint. I love the Advance paint. I am using Super White Benjamin Moore Advance Satin.

I use paint from Lowe’s or Home Depot but after using BM Advance I will not use anything else for furniture or trim. Wall paint I would not use the Advance paint just plain wall paint.
Like the primer I started painting the crevices with the paint brush. After I had all the crevices painted I used a sponge roller and painted the brick.
Tip: At first I used a surface roller that I typically use for painting furniture but it wasn’t working as well so I tried a sponge roller I bought at the Dollar Tree in a package and it worked perfectly.


Let that dry one full day.
The next day I applied a second coat.
TA-DA!!!!

WoW! Why didn’t I do this a long time ago? This makes the room so much brighter. I can’t believe the transformation.


The fireplace wasn’t terrible before I just wanted it painted. It’s amazing how a few coats of paint can make such a huge difference.
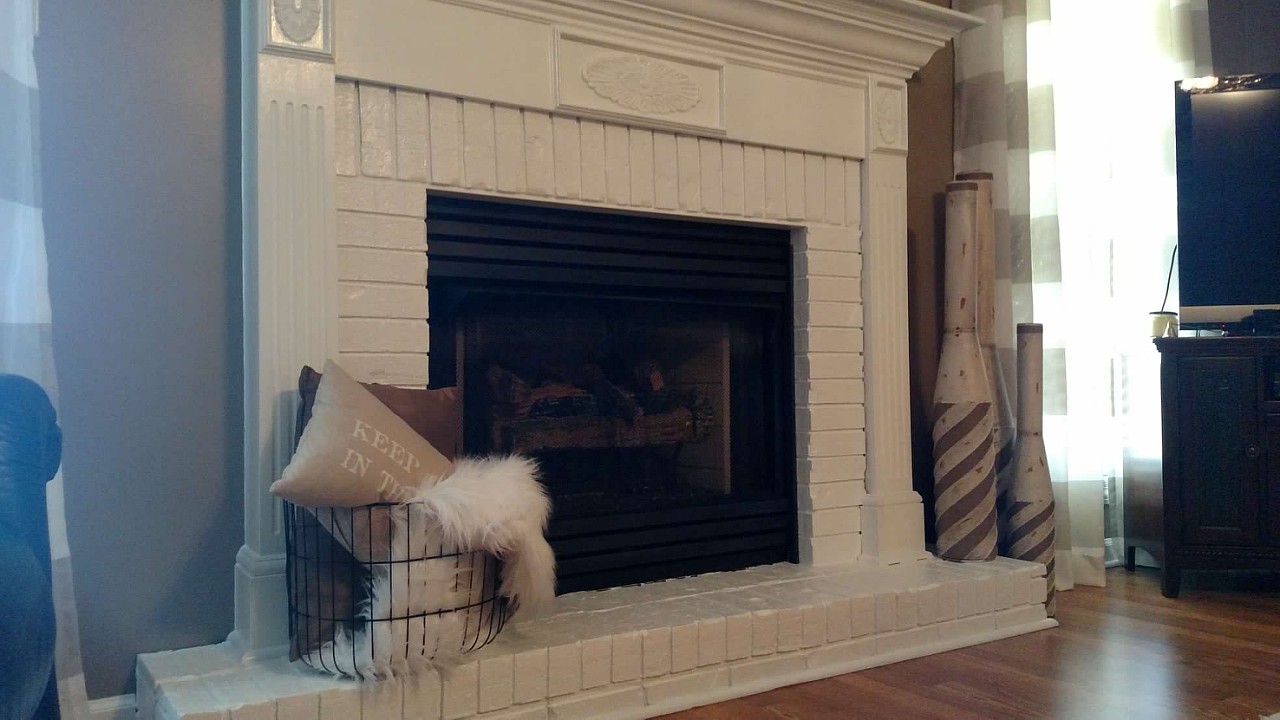
Here is the before and after!
BEFORE
AFTER

What do you think? Should I have done this months ago? All I did was *clean, prime and paint. This project took me 3 mornings. If I would of waited until the weekend it wouldn’t have taken that long. I’m so happy with how it turned out
As always thank you for stopping by! Hope you are ready for my 30 Days of Christmas with me! I am excited and so ready to start decorating. The first DIY I will do Monday morning will be a Book Wreath. Have you seen a book wreath? I made one a couple years ago but packing it up over the years it took it’s toll so I want another one. I had a request for this DIY. So get ready Lucy, we are doing one just for you!
Don’t forget to follow me on Instagram and Facebook. And jump over on Pinterest and see what all I pin. I would love to follow you on your journey so come find me, follow me and I will be sure to follow you back!
Don’t forget to sign up to NEVER MISS A POST so you won’t miss one thing this holiday season from me!
Stay strong and stay blessed!
Terrie
Decorating our home on a budget is my thrill. I think a home can look beautiful without breaking the bank. Your home should bring the best out of you and make you feel happy. You should smile every time you enter your home. 🙂
Where to start…Mmm. I liked the original brick. I think it looked really good. The dark brick against the white wood was a nice contrast. N ow…after saying that I have to admit I am really liking the white on white. It is fresh & clean. Definitely a more updated look with all the white woodwork in your home. I think your Christmas decor is going to look AWESOME on your fireplace. You never fail to amaze us with your magic touch.
Now…I didn’t miss the part about your next project. I loved the first one you did & I will be watching (patiently…not) to see what you have in mind for this book…!! Thank you for remembering… 🙂 Now…get to work… <3
Lucy,
Thank you for your reply! Yes the original brick did look good and had nothing major wrong with it. To me it was starting to get a little “dusty” looking. What I mean about that is, it was loosing it’s luster (dull). I was having to armor all it weekly to bring back the sharp color. OK….that is an OCD thing I am sure you are saying, but I hate the brick looking dull. Plus…I am tending to go toward the neutral look and the color of the brick just stuck out to me.
I did love my first book wreath, it was beginning to get tattered. I wanted to do a tutorial on how to make one so what better way to do that than to make another one!
Not OCD…I understand how dull/lack lustre can drive you batty… 🙂 I think white looks so new & fresh. You can put your armour all away…!!
I just saw your new book wreath and it is beautiful…!! Thanks for showing all the steps of how you did it. Will be watching for your next post… 🙂
I really LOVE my fireplace makeover. It really opened our family room up. It goes with the decor so much better, I think anyway.
Thank you so very much for all your kind words. You can really make a girl feel good!