
Every Wednesday on my Facebook page I join Tammy over at Patina and Paint and Corine over at Junk to Gems, we post a video sharing our ideas on decorating, organizing and crafting. Today’s video we are sharing how we organized the cabinet under our kitchen sink. At the bottom of my page I will list all three of our links to our videos and a link to Tammy’s full written picture tutorial to her blog.
This post may contain affiliate links. Click {{HERE}} for full disclosure.

Hopefully, after you leave here today you will find some inspiration on how you could organize the cabinet under your kitchen sink.
With all the plumbing and the garbage disposal this space is very hard to organize. It isn’t easy to arrange things neatly with all the objects you have to work around. I want to show you what I used to organize my cabinet. I will show you step by step on how I put my cabinet together.
Let’s get started!
First thing I did was removed everything out of the cabinet.

After I removed everything out, I wiped down the cabinet and added a cabinet liner to the bottom.

How I organize my cabinet
For more storage space, I purchased an organizer on Amazon to help house my supplies, however it was too tall and would not fit.
Solution: I disassembled the bottom part of the organizer and changed the drawer placement to fit the cabinet space.
Having the stack-able organizer in the cabinet I now have an area with no wasted space. Look how much more space I have to place things.

Here are some other options on how you can utilize the space in your cabinet.


One thing I see under many cabinets are plastic grocery bags. I personally don’t keep my plastic bags under the sink. I have a storage box I keep in my laundry room closet that holds all of our plastic bags. It has been in our home for a long time. Maybe I need to give the box a new look.

If you are one that likes to keep your plastic bags under your sink you might want to try to confined them in their own little space. Here are some really cute examples. You can find a lot of ideas on Pinterest.


I went through all of my supplies and removed the things I do not use.
Clearing out your supplies and keeping ONLY the cleaning products you use will help keep your space organized.

In the bottom drawer I stored all my dusting wands and pads.
I placed this drawer to the bottom of the organizer.

The larger drawer I placed all my dishwashing soaps, cleanser and dusting products.

I placed the drawer to the top of the stack-able.

I placed a basket in the center back of my cabinet with all of my weekly cleaning products.


In my caddie I placed items I use daily, which I have shared my kitchen cleaning routine in an earlier blog post here→ Tips On Keeping Your Kitchen Shining Between Cleaning.

For me to grab my daily items more easy I placed the caddie in front of the cabinet.

The next portion of my cabinet is the hardest with the bulk of the garbage disposal. .

This is where I store my little items. (Sponges, Magic Erasers, scouring pads…etc.). I had to be creative. My little caddie came with a removable divider panel. I didn’t want to use it in the caddie so I removed it.

Instead of throwing it away or storing it, I used it for a riser. I placed it in the back of the cabinet.
You can buy little risers at Wal-mart or any department store. Since I had this I am using it for a riser.

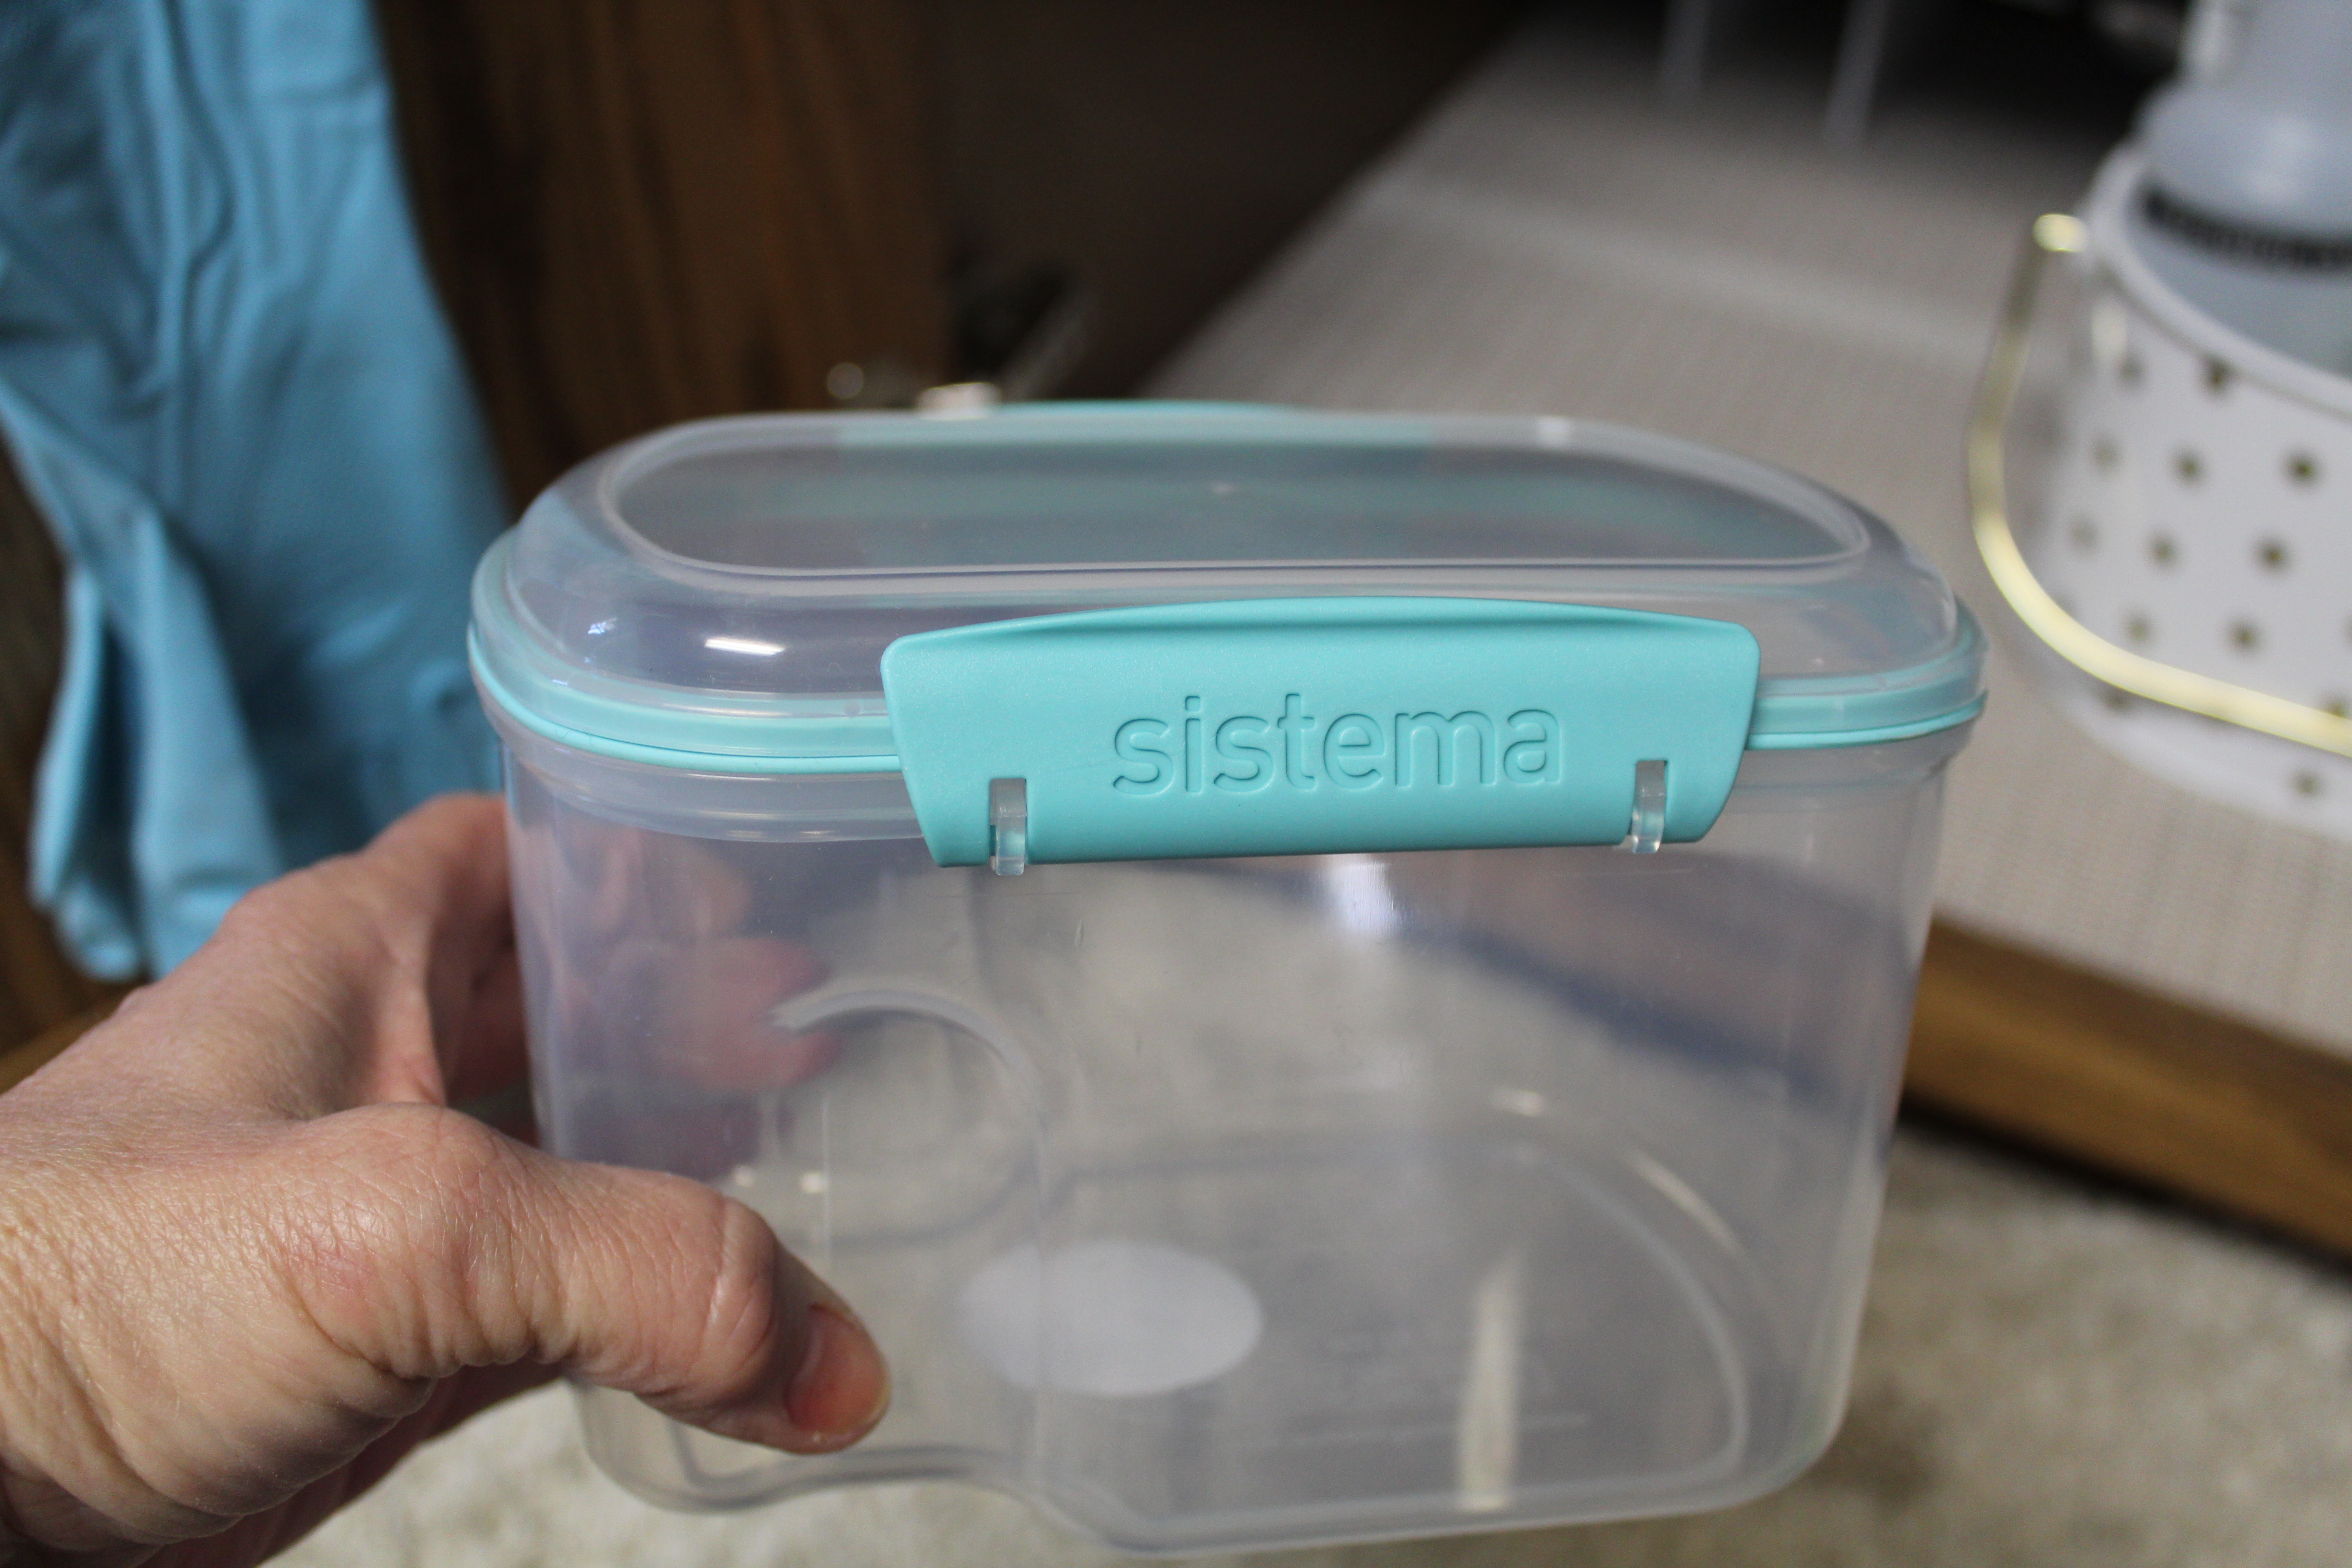
I found containers in TjMaxx. I thought they would work perfectly for storing my little cleaning items.


In the smaller container I placed Brillo pads. I cut the pads in half. Cutting it in half is the perfect size for what I need. Normally I use the pads once and throw them away. Using a full size is wasteful to me. I did keep some full size in there just in case I have a heavy cleaning to do.

In the next small container I place my extra rubber gloves.

In another container I placed scouring and scrub pads. I cut the large pad into 4 pieces. Same reason why I cut the Brillo pads.

I place the containers on the riser. This helps to keep the containers in eye view.

I placed the other two larger containers in front of the riser to conceal it.


In this little tin cup I have my cleaning brushes. Are you wondering why I have a paint brush in this container? I use this soft bristle paint brush to clean my lamp shades and faux plants.

On the doors, one side I placed my drain stopper in a little basket. I attached the basket with command hooks. Easy on and easy off. I don’t like to keep my stopper in the sink when I am not using it so I place it here. I found that when keeping it in the drain when not using it tends not to air out and can cause mold to form in the cap.

On the other door I placed one command hook to hang my rubber gloves on. I took a binder clip and clip the gloves on and placed them on the hook. I can’t claim this brilliant idea I saw this on Pinterest.


This is how I organized my space under the sink.

I hope I shared some tips and inspired you to organize your cabinets to where it will be easy for you and your family.
Shop similar items under my cabinet
Click on the photo below to go over to Tammy’s full written picture blog post.

Here is all three of our video on how we organized the cabinets under our kitchen sinks.


Follow Decorate and More with Tip!!
↓ To find all of my inspiration ↓
Facebook ◊ Pinterest◊ Instagram ◊ HomeTalk ◊ YouTube
God bless you! ♥

 Copyright secured by Digiprove © 2021 Terrie
Decorating our home on a budget is my thrill. I think a home can look beautiful without breaking the bank. Your home should bring the best out of you and make you feel happy. You should smile every time you enter your home. 🙂
Excellent! So pretty! I have too much stuff under the kitchen sink to make it look as good as yours. Our kitchen is small so some things that might go in a cabinet or drawer have a home under the sink.
Donna, I can understand. We have a huge laundry room closet with shelving and laundry room cabinets that holds a lot. My sink is used only for the things I use. Thank you so much Donna for coming over and viewing my blog. I appreciate is so much!
Love it Terrie. I’m very regimented when it comes to kitchen organization. It makes being in the kitchen much easier to take care of and to cook and clean.
Thanks Cindy. I open this cabinet a lot so I like it to be nice and tidy and easy to get to what I need.
Looks amazing!!!! I love a well organized space!!! Thank you for sharing all these great ideas!!
Thanks Emily. You are so welcome thanks for coming by.
Everything in it’s place…looks great…!! You really are an organizing queen… 👑
Thanks for tips & pics…!!
Thanks Lucy. It is very easy and I live having things organized so we can get what we need without hunting for it.
I love how you organized your cabinet. To cut the SOS pads was a great tip. Thank you! I love the idea about the plastic bag idea. Thank you for sharing!
Thank you Bonnie! I am so happy that you can use some of the tips I shared. Let me know how it works out for you and which one you decided to make for your storage bin.