
According to recent trends, more homeowners are choosing to remove Christmas-specific decor shortly after the holidays and shift toward a broader winter aesthetic that lasts well into February and beyond.
According to recent trends, more homeowners are choosing to remove Christmas-specific decor shortly after the holidays and shift toward a broader winter aesthetic that lasts well into February and beyond.

Did you know that simply swapping out dark, heavy textiles for lighter ones can make a room feel up to 10 degrees cooler? That’s the power of smart summer decorating.

After months of cold weather and gray skies, there’s nothing quite like the energy that spring brings into our homes. Cultures around the world have long honored this seasonal shift
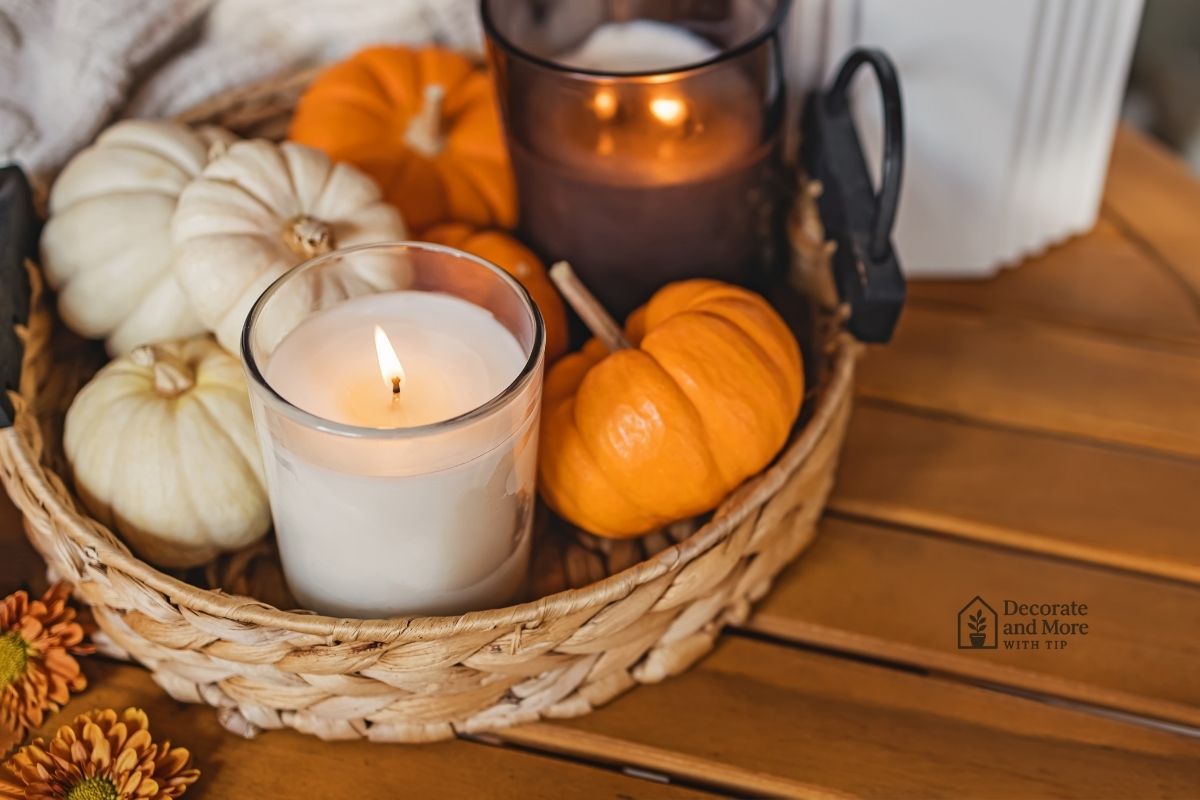
Did you know that many people begin decorating for fall as early as mid-August? It’s not just about pumpkins and leaves. Fall decorating is a way to gently shift your