
This post may contain affiliate links. Click {{HERE}} for full disclosure.
Well, I’m officially one week into the Craft Room Refresh. I have a long list of projects I want to accomplish. I have it all planned how I can get the projects done in a timely matter. So, do you want to see how week 1 went?
The plans for this week: Cleaning and organizing the craft closet and painting the room.

First job was cleaning and organizing the craft closet. I removed everything out and cleaned the baseboards, wiped off the drawer organizers, etc.

I straighten up the two top shelves. This wasn’t too difficult; I keep my floral arrangements on the shelves. Spring and Fall on the very top, Christmas bottom left, and everyday arrangements to the right. I have 4 storage bins in the center holding glass votives, small terracotta pots, candle holders and other small glass items.

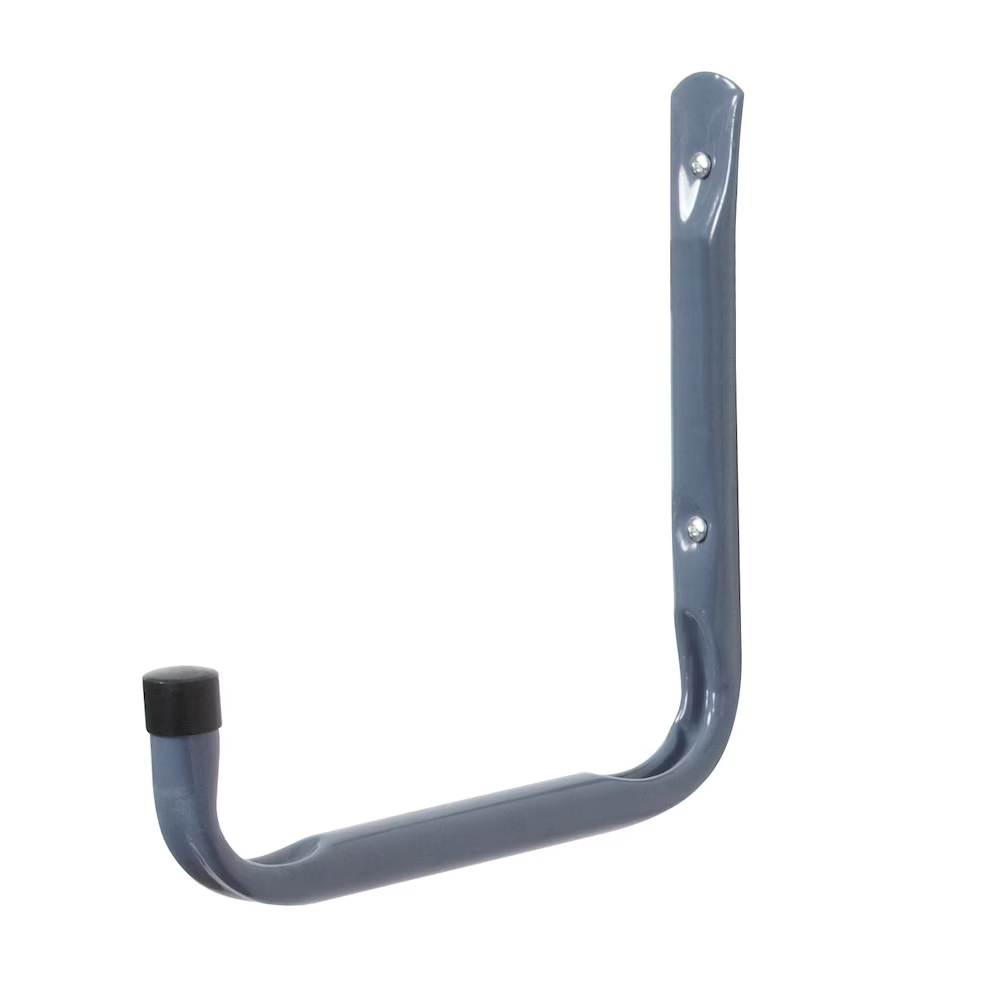
Before I place the wreath’s back onto my giant storage hangers. Let me tell you a little about them.

These storage hooks are use typically in our garage; we use them to hold all of our ladders.

When it came to holding all of my wreath forms, I needed something not only large enough to hold them but also sturdy enough. I have to say, these hangers are a wonderful addition to my craft closet. I made sure I attached them to the wall where studs were.

Everbilt 11-in Giant Storage Hanger

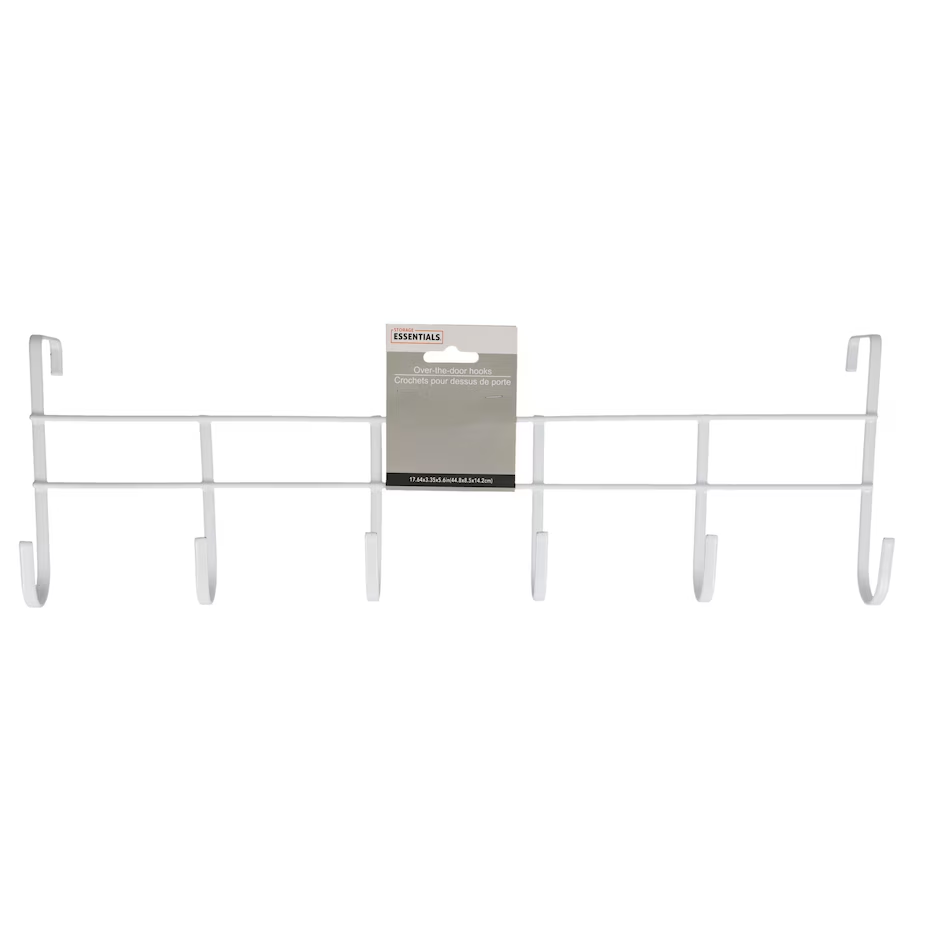
In front of my wreaths, I hooked a Dollar Tree over the door organizer to the closet rod. This is to be used for my mini wreaths or items I will be working on in the near future.

OVER THE DOOR 6-HOOK HANGER, 14.5X3.5 IN.
For my wired wreath forms, I stuck them between the shelf and closet rod. They fit snug but allows me to pull them out when needed without a problem.

I added individual hooks to the wall and peg board hooks to hang other supplies.


Going down to the floor, I placed a three-tiered shelving unit for more storage. I found this unit years ago in a thrift store.
On the top shelf, I placed my craft rags in a basket and wooden seasonal plaques for future crafting in a wire basket. This allows me to go through the plaques with ease.

I placed my little bench to step on when I need to get something off the two top shelves. However, when not being used as a stepping bench, a good place to sit a wire basket filled with stems that I like to keep handy.

Each side of the closet are these plastic drawer storage units; Kristin used these units in her dorm room during her college years. When she didn’t need them any longer, I took them over. They fit perfectly on each side of the closet; don’t you think?


As you can see, they are all scratched up, I am on the hunt for something like this but in wood, but until then these still function for what I need them to do.
To view my makeover on the storage organizers, you can view here: Upcycled Storage Organizers
I categorized all of my craft room supplies in the drawers as below.
- Office supplies
- Wooden craft cutouts
- Burlap ribbons
- Battery operated tapered and votive candles with remotes
- Pompoms, twine, wooden beads and wicker balls
- All types of raffia
- Dollar Tree general crafting items


3 Drawer Wide Storage Drawer Cart with Caster Wheels

I have tried labeling things in the past, but to be honest, over a short amount of time the items in the drawers are not correct with the labels. When buying new supplies or as drawers get full, I place things where they fit. So, taking time to make labels is a waste.
To the top of each drawer units, more supply items tucked in a basket and a box tray.
- Little trinkets for a double tray and charms
- Bits and pieces of left over greenery


I off centered the top organizer to store my wreath board.

The last thing I organized was the three plastic shoe organizers.

Adding those organizers on an adjustable shelf gave me more storage to place things on top. The items I placed in the containers.
- Floral wire, crafting wire and fishing string
- Small hot glue guns
- Jewel ribbons


Sitting on top:
- My project clips
- Scrap ribbon
- Message board letters
- Pencil sharpeners
- More odds and ends

Plastic Drawer Storage Organizer Stacking Drawers

It took a full day to clean, organize and put things back, this girl was tired. But oh, do I feel so much better this task is finished!

The second day was prepping the walls to be painted. I removed everything off the walls and patched nail holes to the spots I will not be placing things back.
The third and fourth day was painting the walls, trim and baseboards.

Three of the four walls were painted; I will be wallpapering the fourth wall soon.

All the furniture is sitting in the middle of the room. This will be the project for next week, painting furniture!


Follow Decorate and More with Tip!!
↓ To find all of my inspiration ↓
Facebook ◊ Pinterest◊ Instagram ◊ HomeTalk ◊ YouTube
Stay strong and God bless! ♥

Decorating our home on a budget is my thrill. I think a home can look beautiful without breaking the bank. Your home should bring the best out of you and make you feel happy. You should smile every time you enter your home. 🙂
You have been busy! I always drool over your craft room. You are taking it to a new level!
It was time to give the craft room a good cleaning and the furniture a much-needed coat of paint. Thanks Donna.
This looks like the perfect summer project. And I agree about labeling storage bins – it just ends up being useless whenever you have to shuffle things around. I like using the clear bins for that very reason. Love the paint color for the room!
Thanks Gina. I love the fresh new coat of paint and the color too. Thank you so much!