
Are you ready for another counter top makeover? Our daughter, Kristin has a concrete coffee table that she loves and wanted the counter top on the wet bar to look like her table. We decided to try and paint her laminate counter top to look like the concrete coffee table. Like most of our projects in her home, this will be my “first” painting laminate counter top. Here goes!
Since we removed the sink when we installed the backsplash I was ready to get started.

Take a look at the concrete table below, this is the look we are shooting for. I need to get the color and the texture right to pull the look off.
This post may contain affiliate links. Click {{HERE}} for full disclosure.

Here are the supplies I am using to paint the faux concrete counter top.
- Zinsser Bull’s Eye 123 primer
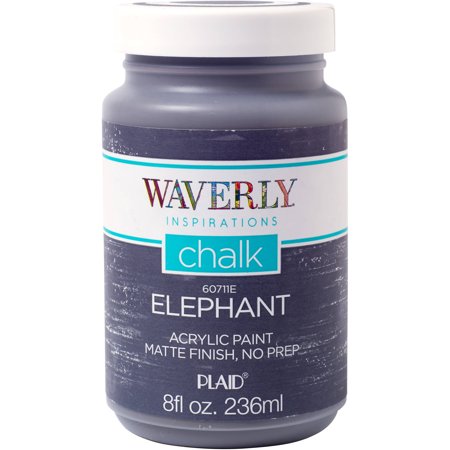
- Waverly Chalk Paint (Pool-Mineral-Crystal- Elephant)
- foam rollers and paint roller
- paint brush
- Minwax Polycrylic protective finish
- 220 Grit sand paper
SHOP HERE


My step by step tutorial.
- Prep the counter top by sanding with 220 grit sandpaper and cleaning the counter top with a degreaser. (I used 409)
- Sanding the counter top will help the paint to stick to the surface better. Clean dust off the counter top. Use a degreaser to make sure the area is free of all dirt and grim.

2. Paint on 2 coats of primer, letting the coats have enough time to dry in between coats. I am using Zinsser Bulls Eye 1-2-3.
- Using a primer before painting helps to seal the surface and helps the paint to adhere to the surface as well.

- you can tape off your area before painting to help keep the paint from getting on the walls. We haven’t painted the walls yet so I am not taping the walls.
- Use a brush to cut-in around the area
- Use a foam roller to paint on the primer.


I am going to be using multiple colors of paint to achieve the concrete look.
3. Apply two coats of your base color. Letting the paint dry between coats. I am using Waverly Pool chalk paint for the base color.

- when the first coat is dry apply another coat of paint.

4. Adding a third color, I mixed two colors together.
- I added equal amount of Mineral and Crystal Waverly chalk paint together and painted one coat over the Pool.

5. To me, it’s close to the color of the coffee table. Now to give it the texture look. I made a marble paint, in my paint pan I added equal amount of Elephant and Crystal chalk paint and gave the two a light stir.

I took a foam roller, rolled it in the paint lightly and applied the paint on the counter top. It went on splotchy which was the look I was going for. Rolling it out to blend.

I was going to add some black touches to the counter top, but Kristin fell in love with the way it looked, before I could get the black paint out she said don’t and wouldn’t let me touch it. 🙂
6. We waited several days before I applied two coats of Minwax polycrylic to the surface using both a brush around the edges and finishing the surface with a clean foam roller.
- After the first coat sand lightly with 220 grit sandpaper, clean area before applying the second coat.

Allow this dry for at least 24 hours before using it.
What do you think? Did I master the look of concrete?

 We have a couple more things we need to do before the reveal. We need to paint the walls, set the sink and add the faucet before we can call this done. We are so happy with how it is looking. Can’t wait for this to be complete.
I do have to share a great find I found one day when I went to the thrift store. We were going to make a wine rack in the center of the wall cabinet, well…one day at the thrift store I found a wine bottle rack.

How perfect is this? It comes apart. I will place one on each shelf.

We spray painted them silver with Rust-oleum. Placing them on the shelves. Pretty sweet, right? If she wanted to use the shelves for something else all she has to do is remove the racks.

I was hoping to finish the wet bar closet, but we ran out of time. A couple more work days and we should be finished.
⇓ PIN THIS ⇓

If you like my blog be sure to click on the LIKE button and SHARE it with your friends! It’s the best way for my blog to grow. I would love for you to be part of my family so sign up to receive my emails. Every time I post a blog I will send you an update email. Also, follow me on Facebook HERE, Instagram HERE, Pinterest HERE and Bloglovin’ HERE. Come by and say Hey!
♥ Terrie
Decorating our home on a budget is my thrill. I think a home can look beautiful without breaking the bank. Your home should bring the best out of you and make you feel happy. You should smile every time you enter your home. 🙂
This is really looking great. Patience is key with fauxing. Different stages and drying in between are key.
Cindy
I could really use your talent in painting my sweet friend. I am sure there would be an easier way in painting a faux concrete look. I agree with what you said. Drying and different colors are huge keys.